Chaos® Corona delivers high-quality, physically based shading for production rendering. Be an artist, not a technician, and achieve realism with greater ease than other rendering software.
Corona for 3ds Max
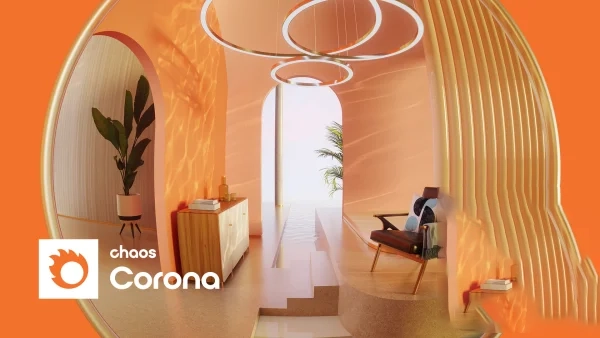
After successfully installing and activating Corona, you’ll want to create a scene and test it out! Here is a tutorial on how to quickly and easily create your very first render.
How to setup and render a simple scene.
Text version
- Download and install: Visit corona-renderer.com/download to download Chaos Corona, install it and open 3ds Max. You can read about installation and activation on our helpdesk if you need any assistance.
- Open up the scene file: Download the empty Interior Scene if you want to follow along.
- Add a Corona Sun and Sky: Head to the Corona Toolbar and click the Create Corona Sun. Click and drag and the sun is created. In the modify tab add a Corona Sky.
- Create a Corona Camera: Navigate into the interior and click the Create Corona Camera from View button in the Corona Toolbar. This will create a camera from the view.
- Interactive Render: Click Start interactive rendering in the Corona VFB on the toolbar. We can now see our preview render in real time. Any changes we make in the viewport are reflected in the render straight away. To demonstrate this we can add a light to our scene by clicking on Create Corona Light and clicking and dragging in our scene. Feel free to delete this light when done.
- Tone Mapping: When we run an interactive render, a new window opens called the Virtual Frame Buffer. Other than seeing the rendered image you can also make adjustments to your image on the right. Use exposure, highlight compress, and white balance to find a nice balance of light in the scene.
- Chaos Cosmos: To add a model, open Chaos Cosmos and click download on the model you want to use. Once it is downloaded it will stay on your computer so you won’t have to download it again. Click import and we have our model in the scene.
- Corona Material Library: The Corona Material Library can be found on the Corona Toolbar. Head to the flooring category on the left and drag and drop a material onto our floor. You will notice on the model we have a UVW map set at real-world map size. All of Corona’s materials are set to real-world map size. This makes mapping our textures a breeze.
- Render a final image: When we click Render in the Virtual Frame Buffer the image will continue to render until we are happy with the result and stop the render in the frame buffer.
- Setting Rendering Limits: We can set a time or a noise limit in the Render Setup (F10). Under Scene we can set different progressive render limits. For example you could put in a time limit of 10m and the render will stop after 10 minutes. Or a Noise level limit. 6 or 7% is good for draft renders and between 3-5% for final images. Let’s use 3% and click Render.
What’s included
- Corona, which integrates into your 3D software (varies by installer)
- Corona Distributed Rendering Server (3ds Max; for Cinema 4D, native Team Render is used)
- Chaos License Server
- Chaos Scatter, Chaos Cosmos, Corona Image Editor, Corona Standalone, Corona Material Library (downloaded from our server during installation)
- Chaos Phoenix*, Chaos Scans*, Chaos Player*
These are the latest commercial releases of Chaos Corona. They come in a universal installer which lets you activate Corona in the required license mode, or in the 30-day unlimited trial mode if you want to just try out Corona. The trial has no resolution limitations or watermarks, and you can even use it for commercial purposes.
more in uparchvip.com
if have problem with downloads links plz use firefox browser or edge browser
downloads links
6/3/2023 11:44 AM 645523217 Chaos Corona 9 Hotfix 3 for 3DS Max 2016-2024.rar