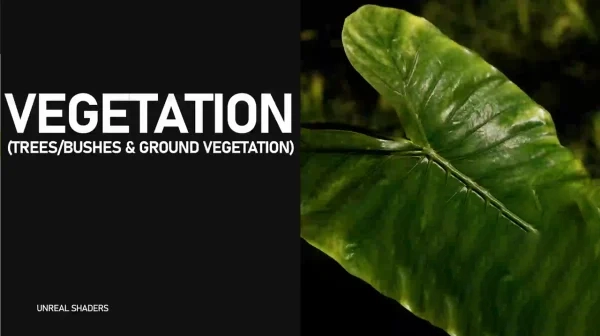
Learn how to create a dedicated vegetation shader for UE5
What you’ll learn:
Two main shaders – The first one for Bark/Foliage assets and the second one for ground foliage
Attribute Parameters – Color, normal, roughness, specular, ao intensities
Subsurface Scattering – With custom color & intensity controls
Billboard logic – Speedtree Only
Two different winds – a wavy one for non-speedtree assets and the native Speedtree wind – .st9 format not supported
RVT Blending – make the perfect transition between the terrain and the foliage
Requirements:
Owning a computer with Windows 10 (64Bits) / Not tested on Windows 11 or Mac
Winrar or 7zip to decompress files
Unreal Engine 5 Basics (Camera movements, create Materials, Import assets…)
Description
During this course I will show you, step by step, how to create a vegetation shader from scratch.
More than any other model type the most important thing for vegetation is the shader. That’s why we will see how to get the most out of every attribute used.
What I will learn?
We will start with the base color and a custom function allowing saturation, brightness, contrast and tint control.
To get the best cut from each model, we will see how to use the opacity mask, also known as “Alpha”.
Because it’s the one that brings out all the details, we will add the normal map and a parameter to control its intensity.
As important as the normal one, the Specular is the one that will bounce the light on your models. We will see how to combine it with fresnel to concentrate the bounce in the light direction.
It also controls roughness, which determines whether your model is dry or very wet.
For dark environments, a parameter to control the emissive is always useful.
Beyond all the other attributes, subsurface is what will make your vegetation more realistic by allowing light to pass through your models. We will see how to implement it, with the ability to control its color and intensity independently.
Once the foliage options are in place, we will see how to add the required trunk features, which will automatically deactivate unnecessary options on this model type, such as subsurface.
For Speedtree only, we will see how to get the best out of billboards by implementing a custom function that can be activated with a simple checkbox.
Because not everyone uses Speedtree, we will see how to create an advanced wind for non-Speedtree assets. Of course, Speedtree wind will also be implemented, but only for .st format.
And finally, because it’s an option that can change everything, we will see how to make the perfect transition between the terrain and the foliage thanks to Runtime Virtual Texture and a Blending function.
more in uparchvip.com
if have problem with downloads links plz use firefox browser or edge browser
downloads links
for downloads this content please create vip mempership
if you activaed vip mempership you will get :
unlimated downloads
direct links downloads
no ads no waiting
high quality content
VIP Membership 1 Year 45 USDDirect downloads linksNo ads No waitingall content in websiteexcept shop category
VIP Membership 3 Month 18 USDDirect downloads linksNo ads No waitingall content in website except shop category
VIP Membership 6 Month 30 USDDirect downloads linksNo ads No waitingall content in websiteexcept shop category
for downloads this content please create vip mempership
if you activaed vip mempership you will get :
unlimated downloads
direct links downloads
no ads no waiting
high quality content


